In this lesson we're focusing on one of the most important communication channels between you and your dog: the leash. We'll use our markers and rewards from lesson 1 to teach directional leash queues: left, right, up, and down. We'll also introduce the platform in this lesson, using the leash queues to guide them on, off, and around this new object. Building familiarity with the platform will help us in lesson 4.

Exercise: Basic Leash Pressure
You'll need 3 things here:
- A normal "flat buckle" dog collar
- A 4-6ft lightweight leash that's floppy enough to crumple in one hand.
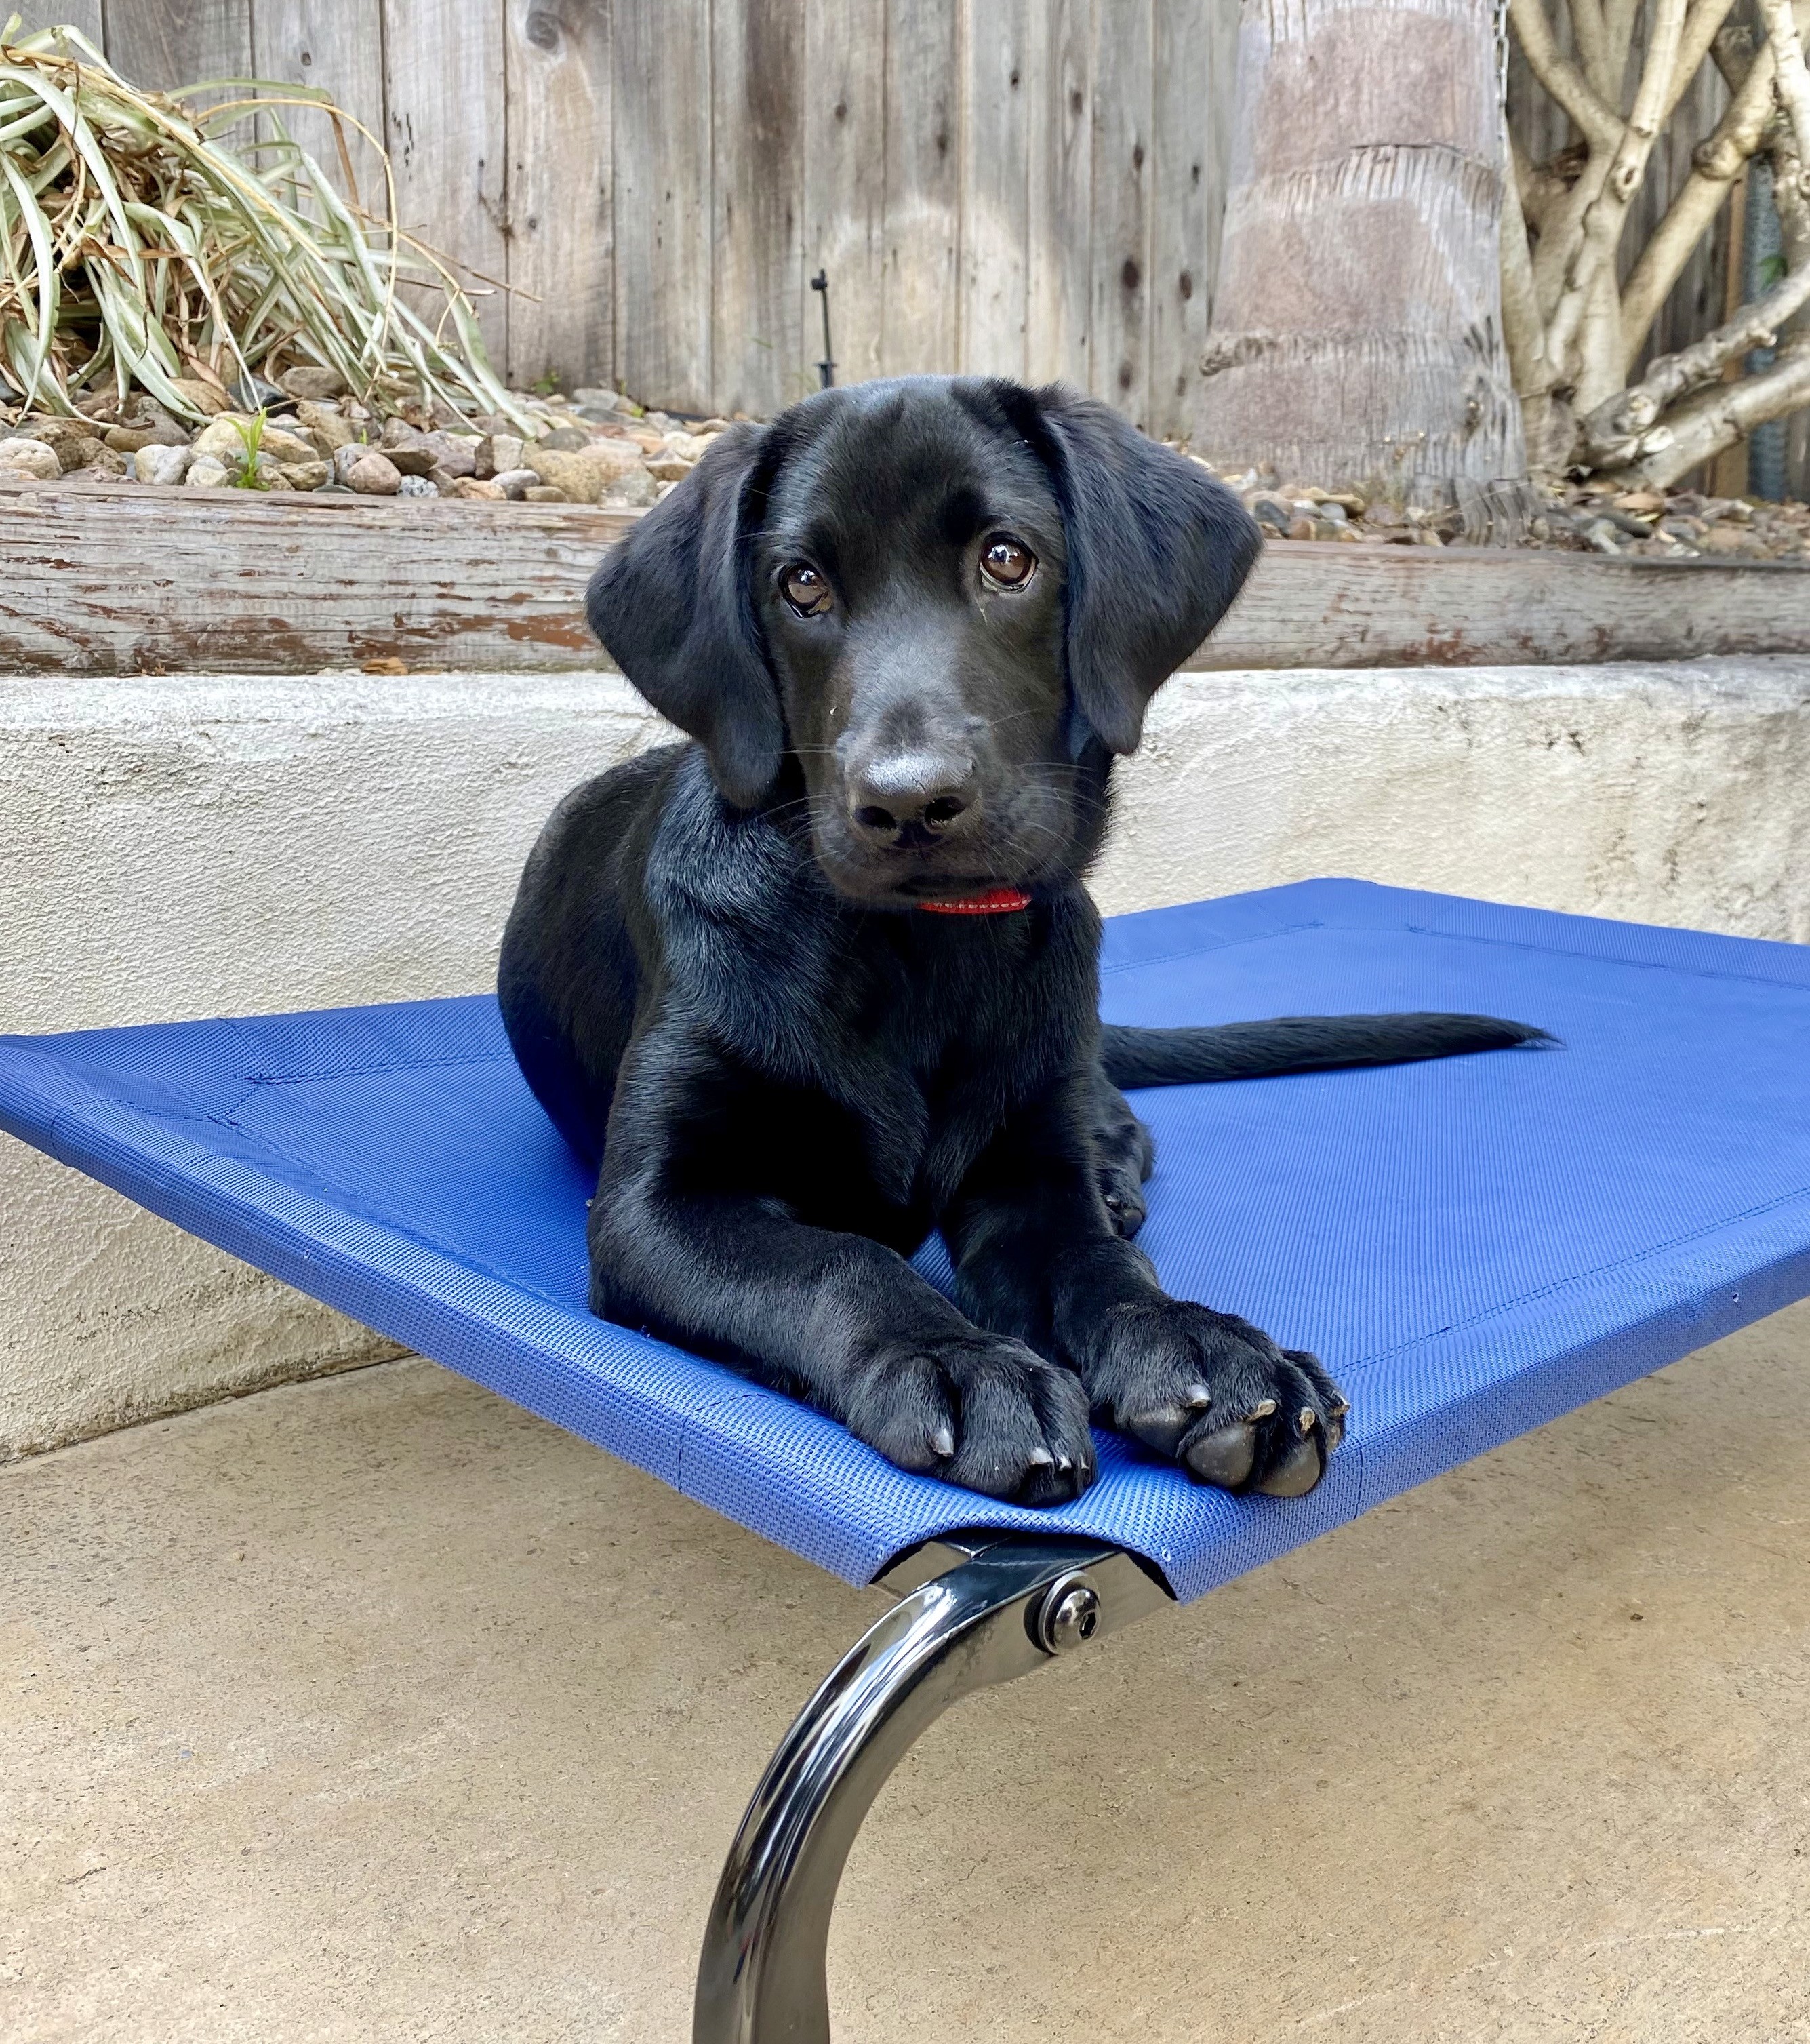
- A platform tall enough that your dog needs to step up to get on it.
Here's what to do:
- Keep the leash slack. That should be the default for the leash always. Have a reward already in your opposite hand, ready to deliver.
- While your dog is sitting, standing, or moving away from you: apply some light pressure to the leash. This means simply making the leash go taught and putting solid, constant pressure on their collar. No yanking, no popping, no tugging, and no words.
- The second they give into the pressure by moving their body in the direction of the leash, three things must immediately happen in quick succession: 1) The leash goes immediately slack (pressure turns off). 2) Mark. 3) Reward.
- Repeat.

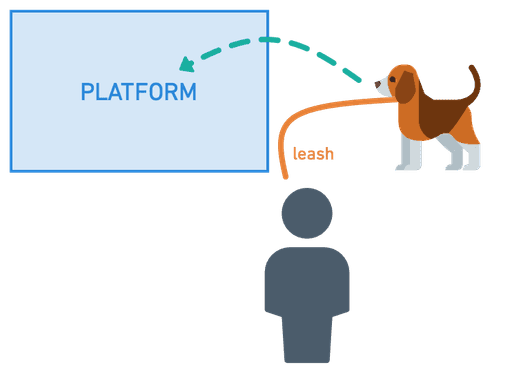
Because of our earlier lessons, you might have a pup that already understands that following you around is a good thing. In this exercise, we really need them to understand that it's the leash they should follow. To help make this distinction, we'll use the platform. With your arm extended, you'll pull the leash to their side (across your body) and guide them on and off the platform.
Remember to mark the second they give into the leash pressure so it's clear what they're being rewarded for. Then make the leash go instantly slack, whether they make it all the way up to the platform or not. The platform is really there as an obstacle to keep them from following you around. We also want them to be familiar with the platform ahead of the next lesson where we'll teach "place".
Tips and Tricks
- ☝️ If you've got a velcro dog that follows you around naturally, then you need to create space so you have the opportunity to apply leash pressure. You can do this by sprinkling some food in the grass and letting them sniff around for it while you walk away and get ready to re-apply some light pressure.
- ☝️ If you apply pressure and they don't get it, help them out by luring them with food (while keeping the pressure on). As soon as they move in the right direction, the leash should go instantly slack because the job is done. Mark the moment they head in the direction of the leash and reward when they get to you.
- ☝️ Keep the pressure light but constant. Many dogs naturally don't like this form of pressure and have an tendency to pull the opposite way. Totally normal! We're countering that instinct by showing them early on that great things happen when they go the way of the leash.
- ☝️ Once the pressure has started, it can't be turned off except by their compliance. Stick to it! Some dramatic pups will squirm, pull the other way, paw at the leash, or even bite it a little! That's okay. That's why this is called leash "pressure."
- ☝️ If your pup has a thick undercoat (huskies), lots of muscles (pitties), or just couldn't care less about pressure on their collar then you will likely need to switch to a slip lead or a martingale collar. These are training tools that have "action" in that they cinch down a bit when there's tension on the leash.
- ☝️ If you've just practiced the "Luring" exercise right before this one, make sure you're not luring while you apply leash pressure. We want to reward following the leash, not luring them in a direction.
- ☝️ If you're having difficulty with this in an open area, you can introduce an elevated platform to guide your dog on, off, towards, away from the platform using leash pressure. Just make sure you're marking and rewarding the second they step in the direction of the leash – not when they arrive on or off the platform.
Homework
10-15 MINUTES • 2-3 TIMES A DAY
There's only one exercise in this lesson because it's a deceptively complex one!
The big thing you want to do is to practice this in different environments. Try it in the yard, in the living room, or in a field (if the distractions aren't too great for your dog). Try it with the platform and without. Put half their breakfast and/or their dinner in the treat pouch and have them earn their food with this exercise.
A note about walks:
If you're still taking your dog on normal walks during the week, consider doing two things:
- Keep them on their harness for normal walks. It's okay if they pull for now. Eventually, we'll switch to their collar for walks but only when we're fully confident they understand how to respond to leash pressure and we're ready to hold them accountable to the new rules. Right now we're in the learning phase.
- Bring the treat bag on your walks and use this time to mark and reward each time they voluntarily enter the Bubble O' Fun and offer you their attention. At this stage we're not requiring they stay in that heel position with the leash. We'll get there!
If you're walking your young puppy, there's a good chance they find everything on a walk interesting and they're going to be pulling on the leash in every direction. That's okay for now! Keep them on their harness and let them be a crazy puppy exploring the world with you. Just reward whenever they check in or voluntarily enter the heel position.